My View of Silhouette#
Silhouette, as a unique photography style, creates a unique visual effect and artistic atmosphere by silhouetteizing the subject's outline and using the lines and colors of the picture. It has always been favored by many photography enthusiasts and designers. For example, the Kindle logo:

There are three characteristics of silhouette-style photos:
- Easy to create a scene: Use a large area of blank space to set off the subject. With the right angle, a simple composition can create a beautiful and profound artistic conception.
- Accessible: This type of photo has very low requirements for equipment. From the histogram, it can be seen that the details of the highlights and shadows in these photos can be lost. There is almost no requirement for depth of field. As long as the subject is in focus, it is a great choice for photography enthusiasts without professional equipment.
- Simple post-processing: Due to the fewer elements in the picture, post-processing such as color adjustment, cropping, compositing, and restoration is extremely simple.
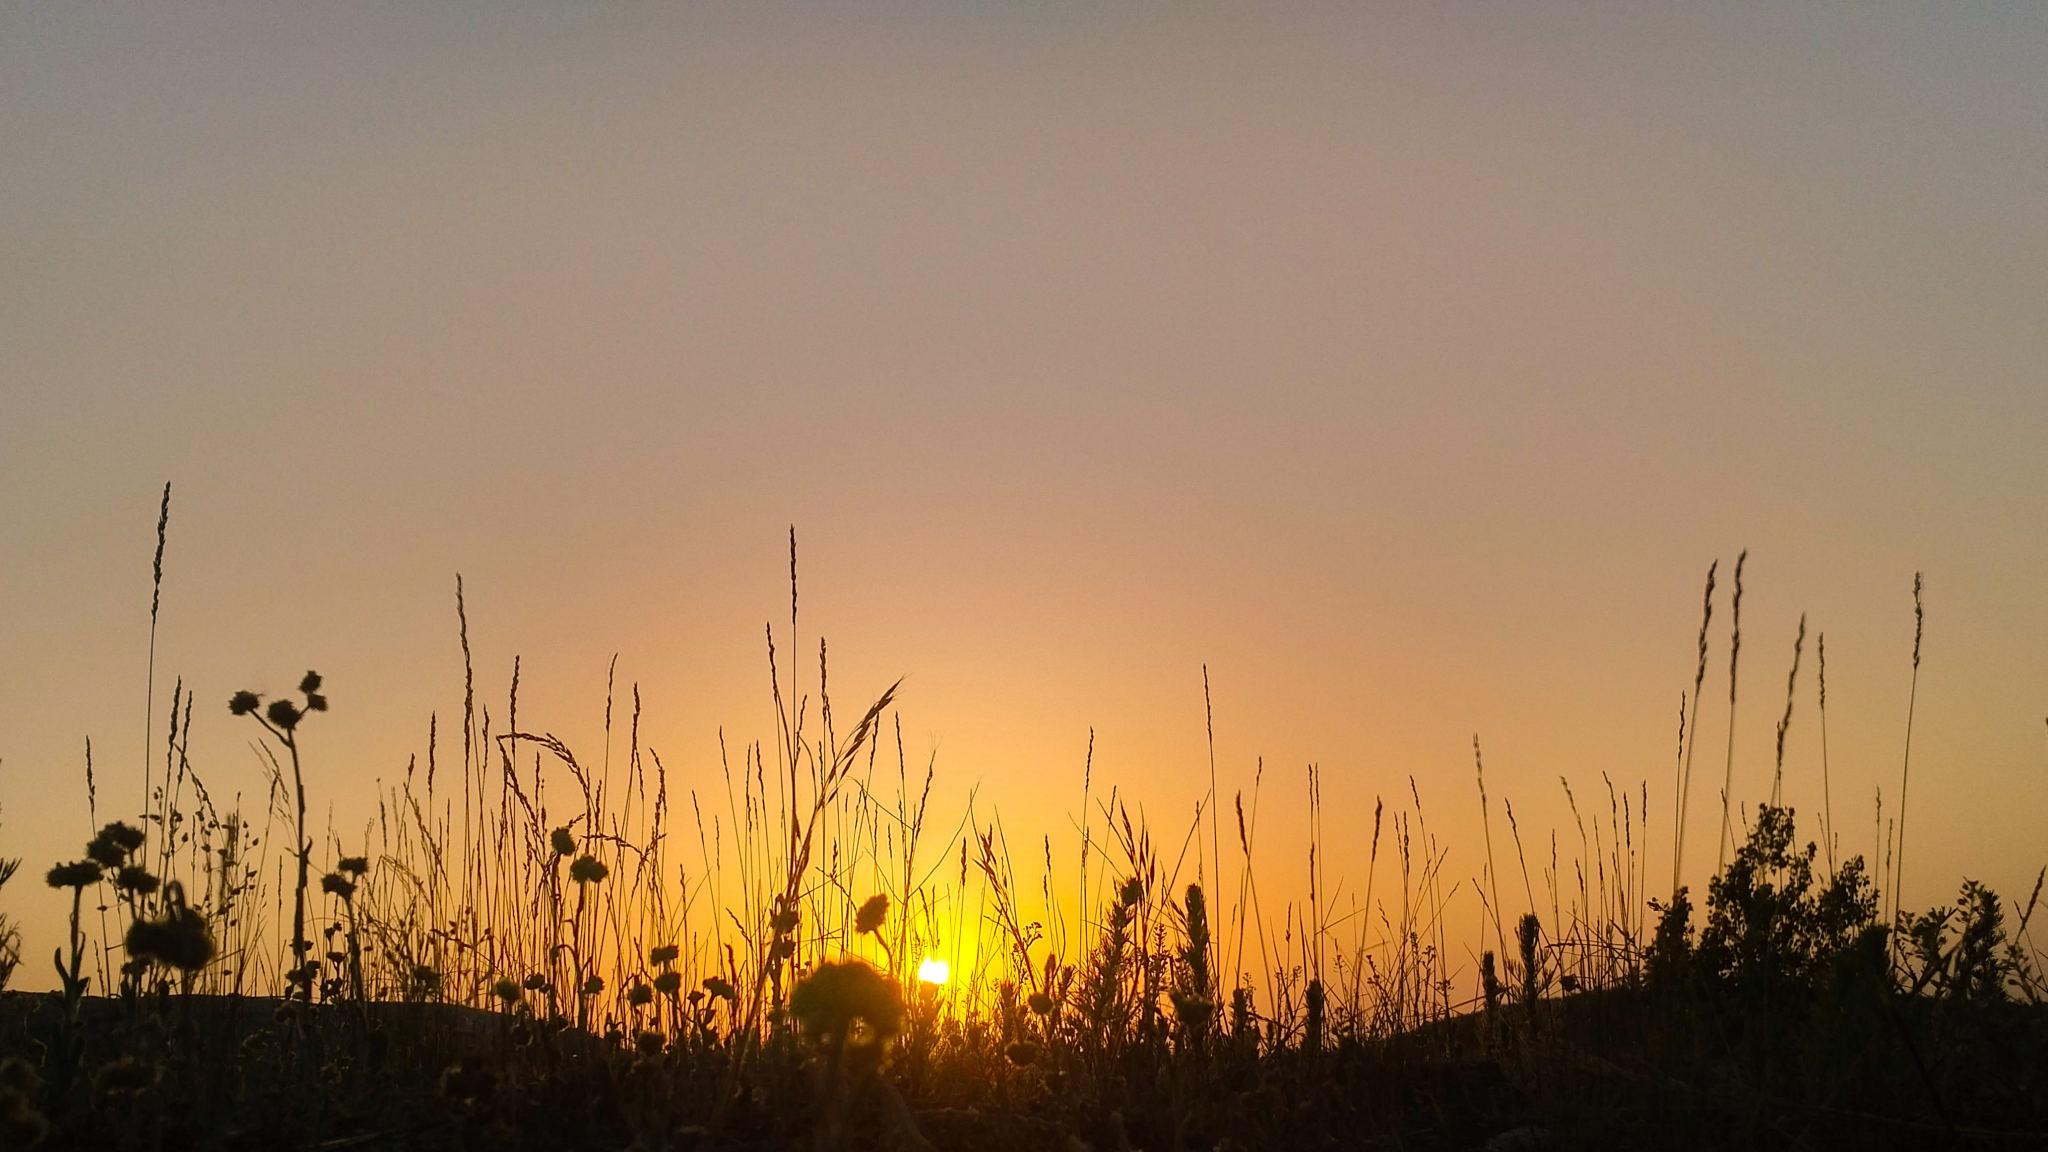
Because it does not require high technical skills, silhouette has always been my favorite style. Three years ago, on an early spring morning, I rode my bike to a small hill in the east to watch the sunrise. I had forgotten the mood at that time, probably just restlessness in loneliness. When I was going downhill, I inadvertently turned back and saw the already risen yellowish sun, descending with my descent, landing on the top of the hill covered with yellow and newly grown wildflowers. The morning light was faint, and everything was growing. This scene was the first photo we uploaded to 500px, which was very meaningful.

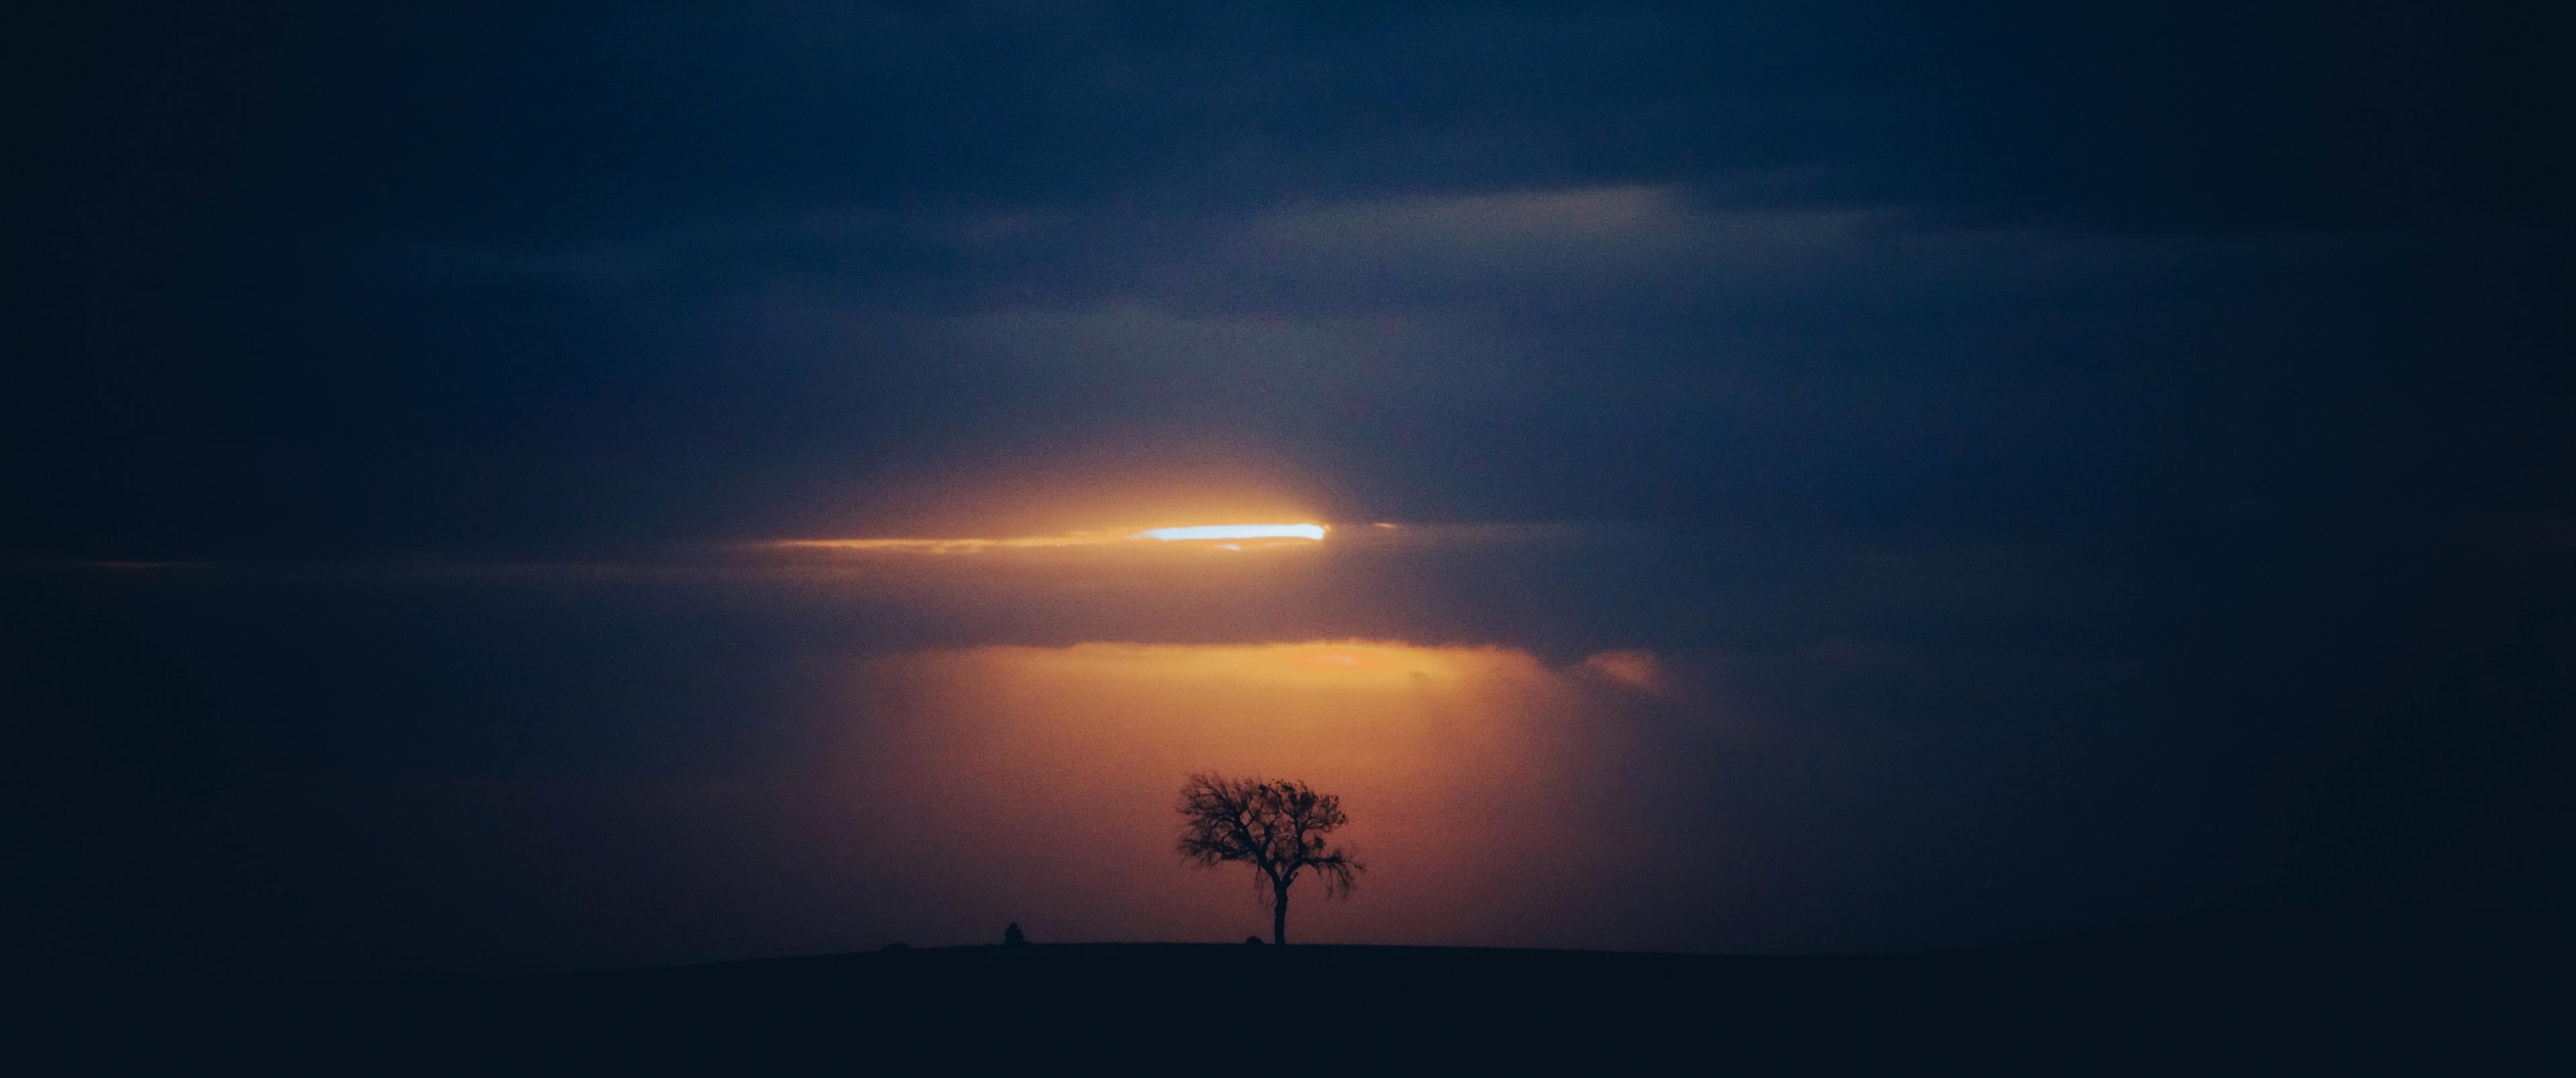
Coincidentally, the 365th photo we uploaded three years later was also a silhouette photo, also taken on a hilltop, with a similar mood, and the same excitement when pressing the shutter:

It seems that silhouette photos have a special connection with us. Recently, we have taken many silhouette photos during practice. Let's select some similar photos from the practice to talk about silhouette photo production.
Timing of Shooting#
The timing of shooting any perfect photo requires "the right time, the right place, and the right people." The same goes for silhouette photography. Only when these three elements are combined can good works be created:
- Timing: Silhouette photos are generally taken against the light during sunrise or sunset. When the light is slanting, the silhouette effect can be created by the contrast between the subject's outline and the background light.
- Location: Shooting from a horizontal or upward angle and maintaining a certain distance from the subject are typical shooting scenes. The simplest example is looking from the bottom of a slope to the top.
- Mood: Due to the relationship between timing (the mood of people watching the sunrise or sunset is generally not bad), location (maintaining a certain distance from the subject during shooting reduces attention to trivial details, and the observer's identity as an observer is strengthened), the mood during shooting is generally not bad, and the recognition of the work is naturally enhanced.
Here are two examples of shooting scenes. For example, two weeks ago, when we went out for a trip, we took a silhouette photo of W during sunset: sunset + upward angle + joy.
The idea of "knowing white and keeping black" is fully reflected in the composition of silhouette photos. This means that although we already know all the principles (knowing white), we can still maintain a simple expression (keeping black). When shooting silhouette photos, the first thing is to ensure that the subject is completely exposed to the light and the scene can be seen clearly. Then, based on the idea of "keeping black," all unnecessary elements are eliminated, and the subject is presented in the simplest way.
For example, this photo was taken last summer on a cool afternoon while wandering outside. It was taken of the distant mountains and forests. After cropping out the sun in post-processing, the image became "very expressive":
And this row of green belts on the hillside also removed unnecessary elements to "keep black":
The most recent successful composition was some selfies taken yesterday (5/12) afternoon.
A negative example is shown below: a sunset photo taken in a puddle after rain last month. There are too many elements and the picture appears messy. In post-processing, fancy color adjustments were used to try to cover up the shortcomings of the composition, but it seems to be overdone. 😓
Beautiful Tones#
With its light, there is also dust; dull its sharpness, untangle its tangles, this is called profound similarity.
Most silhouette photos are taken during the "golden hour" and are dominated by warm tones. The combination of black and warm colors in a large area is very good. When adjusting the colors, pay attention to the uniformity of the image tone, let the highlights not be too bright, and the dark colors not be too deep, so that the overall tone is uniform and "moderate." For example, in the following photos of lightning rods and cranes, we removed the highlights and reduced the contrast:
However, sometimes, in order to highlight the subject better, you can reduce the brightness around the image, use darkness to set off brightness, and let brightness set off the silhouette of the subject. The "double contrast" can increase expressiveness. Our recent color adjustments have used this technique:
There are also some other scenes, such as birds in the clouds and buildings in fog, where using brightness to highlight darkness is a natural processing method:
The reflection of the evening glow on the water surface can also create a good tone:
Of course, excessive color adjustments should be avoided, otherwise, the colors may become too chaotic: